

Installazione & Configurazione di MQTT
In questa guida scopriremo come integrare e configurare l’add on MQTT in Home Assistant. Di seguito, i punti che affronteremo:
- Installazione MQTT
- Configurazione MQTT
1. Installazione MQTT
– Nella Dashboard cliccare su:
- Impostazioni
- Componenti Aggiuntivi
- Raccolta di Componenti Aggiuntivi

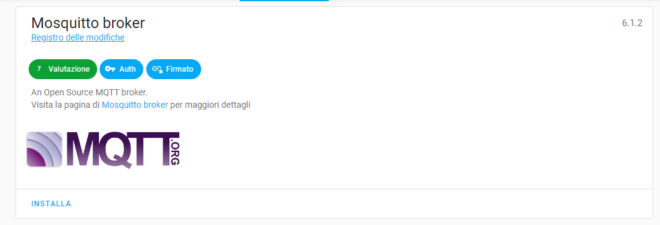
– Selezionare l’ add-on: “MQTT” & procedere con l’ installazione.
– Cliccare su “Configurazione” ed inserire i seguenti dati e confermare con “Save”
- – username: Inserire l’ Username Scelto [ Esempio: domhouseit ]
- password: Inserire la Password Scelta [ Esempio: domhouseit ]
 – Avviare il server cliccando su “Avvia”

2. Configurazione MQTT
– Recarsi su Home Assistant, cliccare su “Impostazioni” e successivamente su “Dispositivi e servizi”.

– Cliccare su “Configura” e procedere all’integrazione di MQTT su Home Assistant.


I dati di accesso al vostro server MQTT sono i seguent:
Server: ip-locale:1883 ( esempio 192.168.1.10:1883 )
Username: user-scelto-in-precedenza ( esempio domhouseit )
Password: password-scelta-in-precedenza ( esempio domhouseit )
Questo contenuto ti è stato utile? ☕
Se ti va, puoi sostenere lo sviluppo e i costi del server
offrendomi un caffè simbolico!